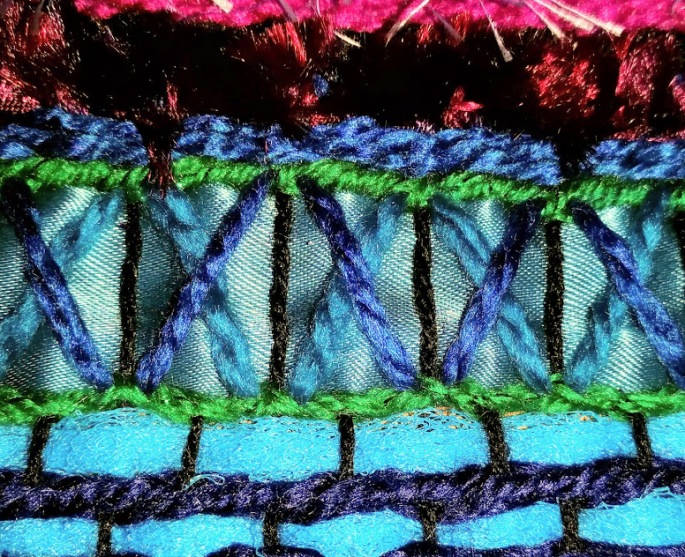
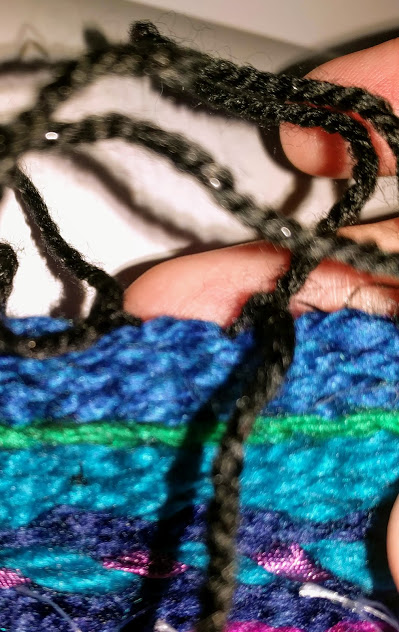
This week we had the opportunity to try weaving on a cardboard loom! This was very enjoyable and relaxing to do and we have included a detailed tutorial at the end of this post if you would like to have a go yourself.
Grace demonstrated how to warp our looms and weave in weft threads of yarn, ribbon or strips of fabric to make a colourful and textured weaving.

We had a huge variety of resources to work with.
Our woven pieces soon began to take shape; it was great to see how everyone approached the task and the wide range of results.
Weaving Tutorial
When warping a cardboard loom, begin in the top left corner. Secure the warp thread to the back of your cardboard loom with a piece of masking tape—the tail should reach the middle of the board. Insert the thread into the first slit in the top left corner. Pull the warp thread to the bottom left corner and insert it into the first slit. Wrap the thread around the back of the cardboard loom and insert it into the next available top slit. Repeat until all the slits are filled, cut the thread so it reaches the middle of the board and tape the end to the back of the board to secure.
You will need an assortment of string, wool, ribbon or strips of fabric to make your weft yarn.

Thread a large eyed needle with the pre-cut weft thread. Begin at the bottom right corner. Leave a 3” tail at the start of the first row. Weave under the first warp thread, over the second, under the third, over the fourth. Continue weaving the thread under and over the warp until you reach the end of the line. When weaving the next line turn the needle and if you ended the first line on an over, do an under, and vice versa.
Continue to the end of the line and push the second row snug against the first row with your fingertips.

When you run out of weft thread you can simply knot the next piece you want to use to the last. Alternatively, complete the current line and leave a 3” tail that will be woven back into the weave at the end. Thread the needle with a new piece of weft thread. Leave a 3” tail at the start of the next row. Pull the needle under the first warp, over the second, under the third. Continue to the end of the row. You do not need to tie the two tails together. Use this method when changing colours or materials too!

Continue creating new rows until you have reached the top of the loom.

You can add decorative stitches over your weaving if you like.

Flip the loom over to the back. Carefully peel off the masking tape and cut the warp threads down the centre of the loom.
Remove the material and trim the fringe. Carefully remove each warp thread from the slits running across the top of the cardboard loom. Starting in the right corner, tie warp threads together in pairs close to the weaving. Repeat until all the warp threads are tied in pairs. Remove each warp thread from the bottom slits. Tie the warp threads together in pairs close to the weaving. Trim the fringe in an even line.

Thread in the loose ends. Beginning at the end of the weaving, thread one loose end onto a large eyed needle at a time. Take the strand around the side and weave it into the piece—go over and under several like colour rows at a time. Snip the piece of wool close to the weaving. Repeat until all the loose ends are tucked into the material.


